
Note: this is a long post with lots of photos. It has been quite the saga to get
a working Earring Display that I was satisfied with. Remember, you've been warned!
I have struggled for months on how to display my earrings
when doing shows. At my very first show last Decmeber, I put them in little
baggies. I quickly learned that people had to pick them up, take them out
(which can be hard) to even see if they liked them. So I nixed that idea.
For the weekly North Village Farmer’s and Artisan’s Market, I tried earring
cards with my business card info at the top punched with 2 holes. Worked better
– but now, how to display them? I should hang them! I bought a black metal
accordian fold earring holder with hooks from Hobby Lobby. I tried to make that
work for a while, but… it would blow over in even a slight wind. It was only 9
inches tall, so it sat too low for a good view, even when elevated. The
accordian fold made it hard to see the earrings closest to the hinge. Okay,
failure number 2.
So 2 weeks ago, I went with just laying them down on an
elevated box – I considered it unprofessional but the best for now. The vendor next
to me had a booth full of shabby chic tables and signs her husband made from
reclaimed wood. One was an inverted v-shaped display she used for a sign.
Perfect! I could hang earrings form that! I asked if he could make one for me,
and on the spot, he gave me hers for $5.00. I told him he’d better make her
another one!
So here is how I converted the sign holder into the perfect
earring display.

I headed to my favorite hardware store – they have such
knowledgeable staff! At first I wanted a continuous hinge, but the staff guy
said the wood was too thin for the length of the screws (this is why I go to
this hardware store, I wouldn’t have thought about that). So I picked a smaller
hinge with shorter nails. Even with the shortest screws, I needed a shim to
keep the screws from going through – so off to the Balsa wood section, where I
got 2 sections – one slat to put behind the hinges, and one thicker, more
square piece to go behind the lace from my stash. Add some thumb tacks, and I
was ready to go.
1.
I took off the old “hinge” – duct tape! Fortunately, it
didn’t leave a residue.

2.
I marked the wider piece of Balsa wood to a bit less
than the width of the sign. By the way, Balsa wood is soft enough to cut with
scissors. I added a little wood glue, and stapled the wood to the sign on the
ends.


3.
I eyeballed the hinge placement and marked the holes.
No need to drill with Balsa wood, just start screwing them in!

4.
Next, I laid earring cards on the front for row
placement and marked the location with masking tape. I decided on 5 rows and 3
columns.

5.
I cut 5 lengths of the sturdiest lace in my stash,
about 2” longer on each side. I wanted the lace to be elevated off the wood to
make clipping the earrings easier. I cut the square piece of Balsa wood into
small strips to go behind the lace.
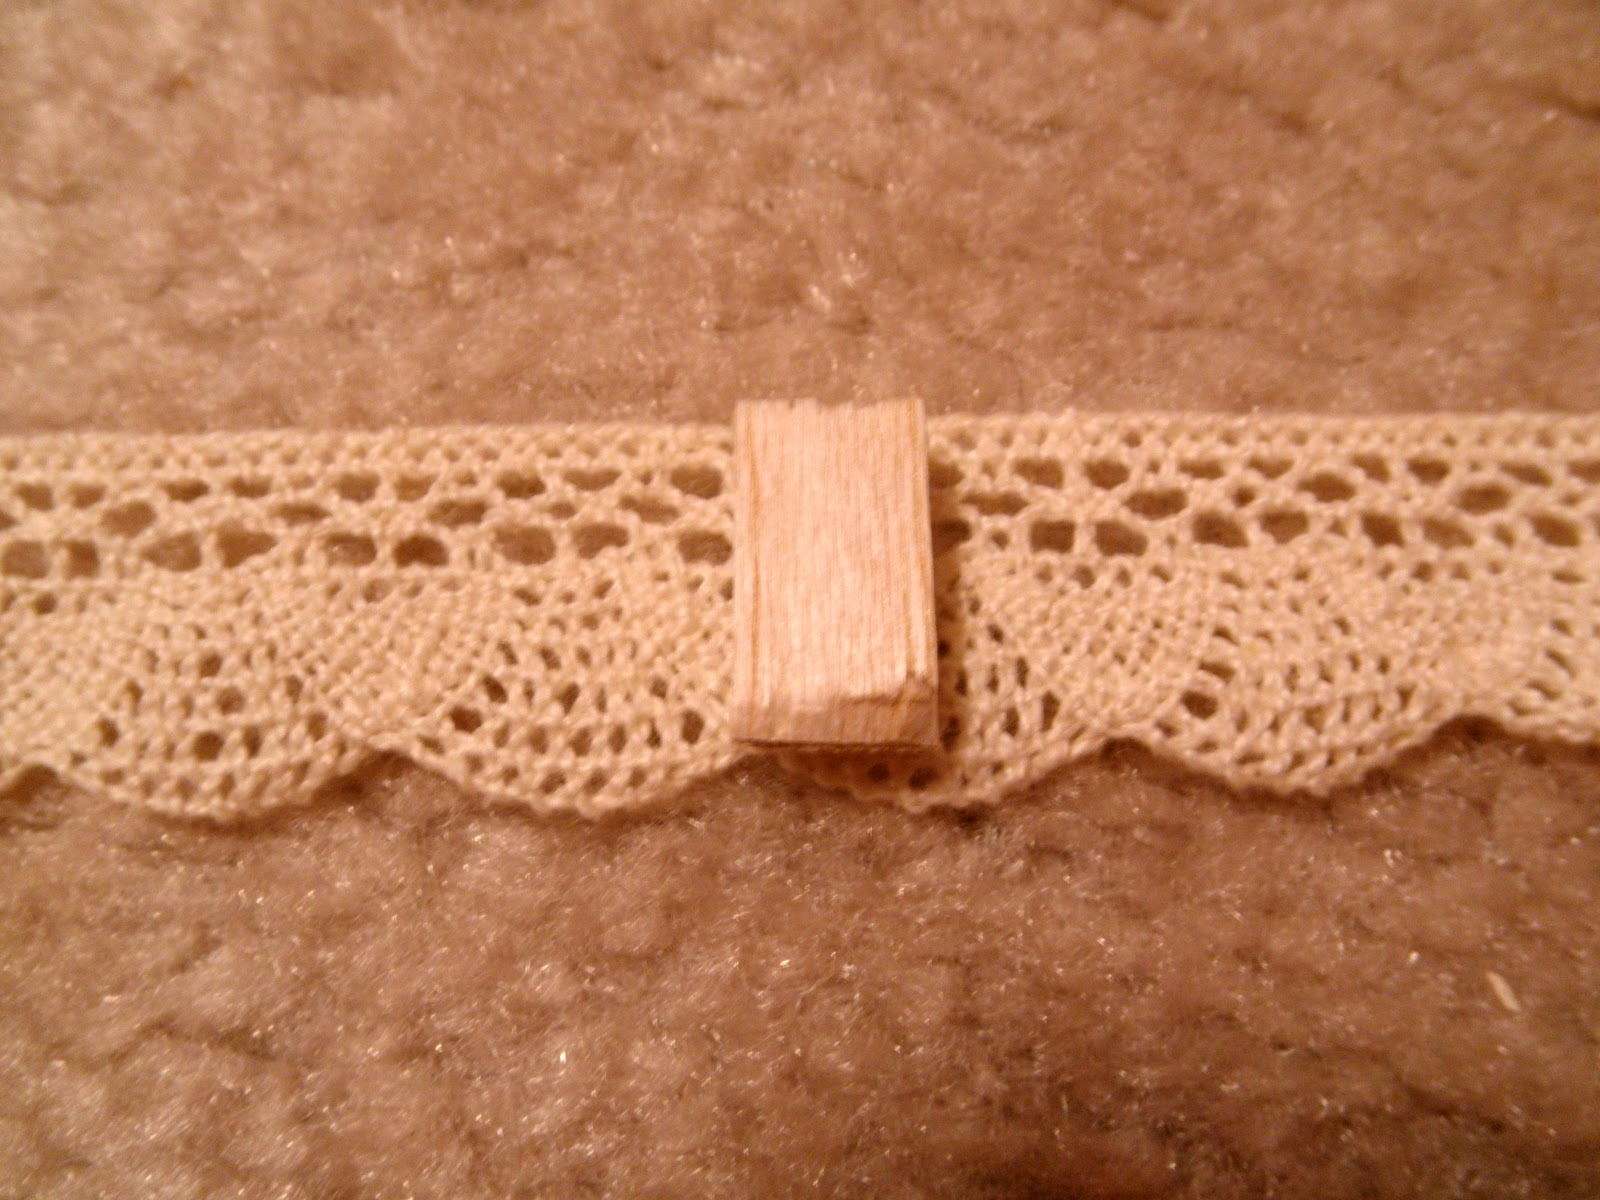
6.
At first, I thumb tacked the Balsa pieces to the
wood without attaching it to the lace. But the earring cards were heavy enough to
cause the lace to droop. Plus, I was worried about holes in the wood in case I
changed my mind on how to use it. So I used “Pop Dots” from my stash – a scrapbooking
double-stick circle that makes things stand out. I cut each circle in fourths
and put one on the back and the front of each piece of Balsa wood and placed
them on the sign. I used 4 pieces to each row, and I finished a row at a time.

7.
After stretching the lace over the Balsa wood pieces, I
turned the sign over and with another 1” piece of the flat Balsa wood, tucked
the lace under and attached with 2 thumb tacks. Due to the shim at the top, I
cut the 1” piece of Balsa wood in half and abutted it to the previous piece of
wood.


This is what the back looked like when I was all finished.

I
used it this weekend, and it worked even better than I expected! I am so happy
with how it turned out (don't look at how crooked the earrings are hanging, okay?). The tiny clothespins (available at Michael's) can sometimes twist, but otherwise
they work just fine.

~ The End ~
See? I told you it was long! Congratulations if you made it to the end.


